Render makes deployment easy. But as a student building hobby projects, I wanted to avoid a separate hosting bill for every small backend—and waiting for sleeping free services to wake up.
I ended up with Oracle Cloud for the server and Coolify for the deployment dashboard. Here’s the route that worked for me, including the networking step I had to do first.
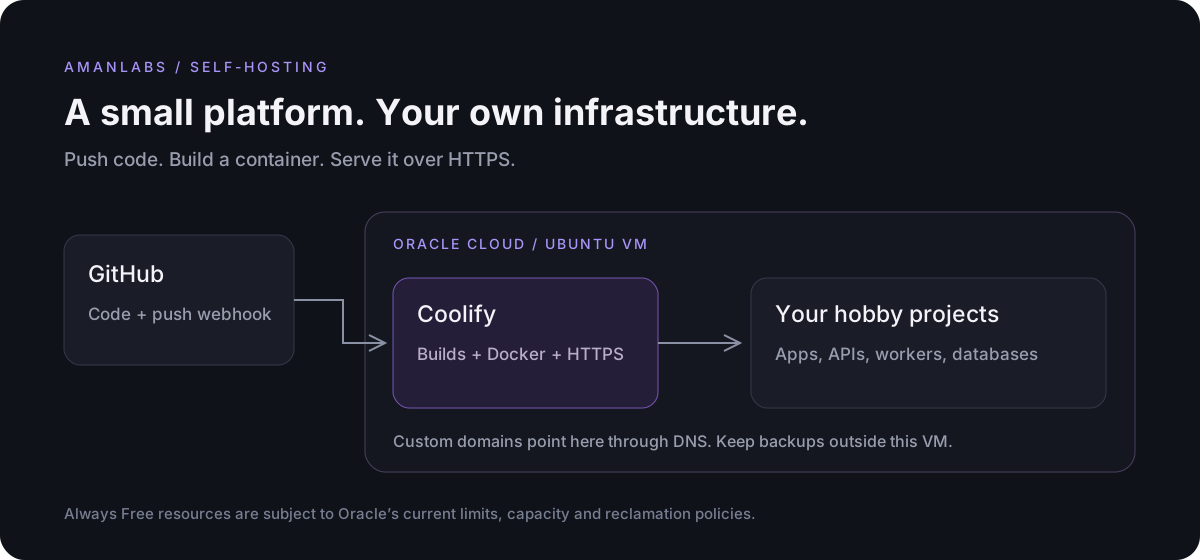
1. Know what free means before signing up
During my signup, the card verification appeared as roughly ₹107–108. Oracle documents a temporary US$1 authorization, not a signup fee. Your INR amount can differ. Oracle reverses the authorization on its side; your bank controls when the money becomes available again. Official payment explanation
Create an account at Oracle Cloud Free Tier. Choose your home region carefully: that is where your free compute must run. I chose Mumbai for location, not because I had verified spare capacity.
2. Create the network first
My public-IP switch was disabled in the instance form. Creating the network separately fixed that, so start here:
Networking → Virtual cloud networks → Start VCN Wizard → Create VCN with Internet Connectivity
| Field | Value |
|---|---|
| VCN name | coolify-vcn |
| VCN address range | 10.0.0.0/16 |
| Public subnet | 10.0.0.0/24 |
| Private subnet | 10.0.1.0/24 |
| IPv6 | Off for this walkthrough |
Keep DNS hostnames enabled and create the network. The wizard sets up the internet connectivity; our VM will use its public subnet.
3. Create the Ubuntu VM
Open Compute → Instances → Create instance:
| Setting | My choice |
|---|---|
| Image | Canonical Ubuntu 24.04 LTS |
| Shape | VM.Standard.A1.Flex |
| CPU / RAM | 2 OCPUs / 12 GB |
| Capacity | On-demand; burstable off |
| Network | Existing coolify-vcn and its public subnet |
| Public IPv4 | Automatically assign |
| Boot disk | 100 GB, Balanced / 10 VPU |
Save both files using Save Private Key and Save Public Key before creating the instance. Oracle makes downloading the public key optional, but keeping the pair together is useful. The public key is installed on the VM; the private key stays on your computer and is the file used in the SSH command below. Keep the private key secure and never commit it to a repository. Oracle’s SSH-key instructions
Check your total free allowance and estimate before creating.
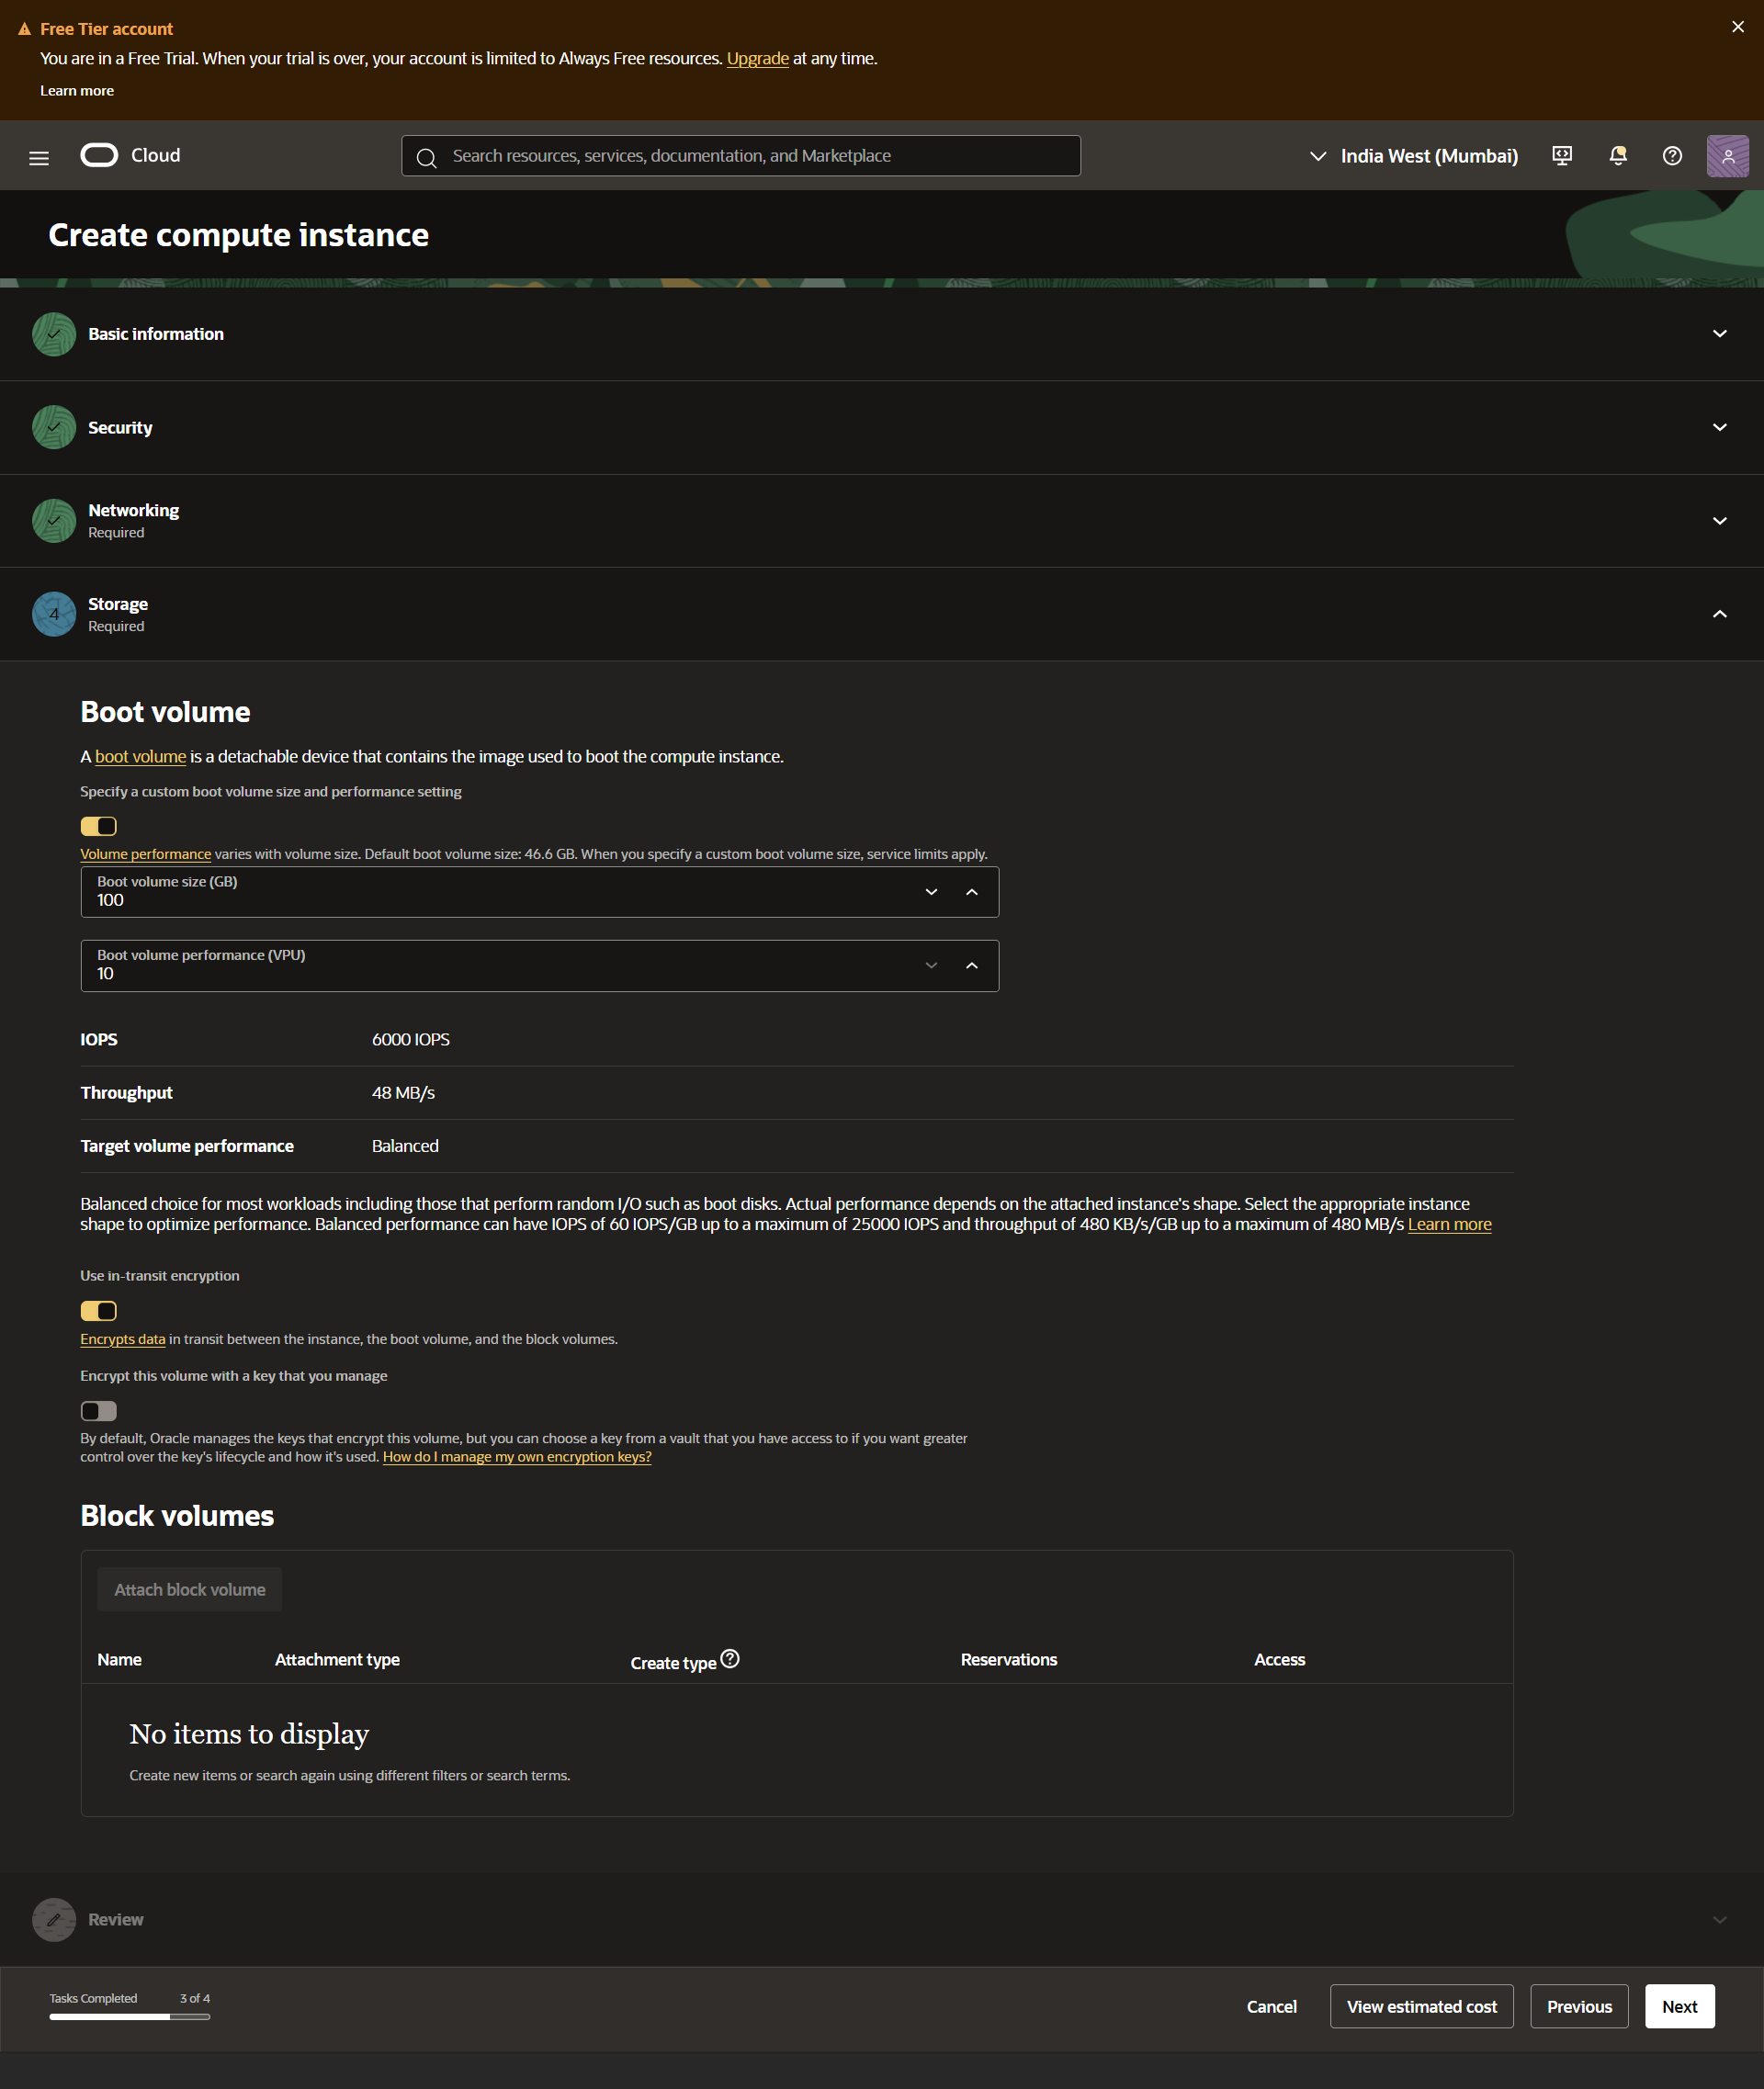
I hit “Out of host capacity” repeatedly. Saving the configuration as a Resource Manager stack let me retry with Apply. Eventually it succeeded. The stack saves configuration—it doesn’t reserve capacity.
4. Connect and install Coolify
From your computer:
ssh -i "/path/to/private-key" ubuntu@YOUR_SERVER_IPOn the Ubuntu server:
sudo apt update
sudo apt upgrade
Reboot if needed, then reconnect. Follow the official Coolify installer instructions.
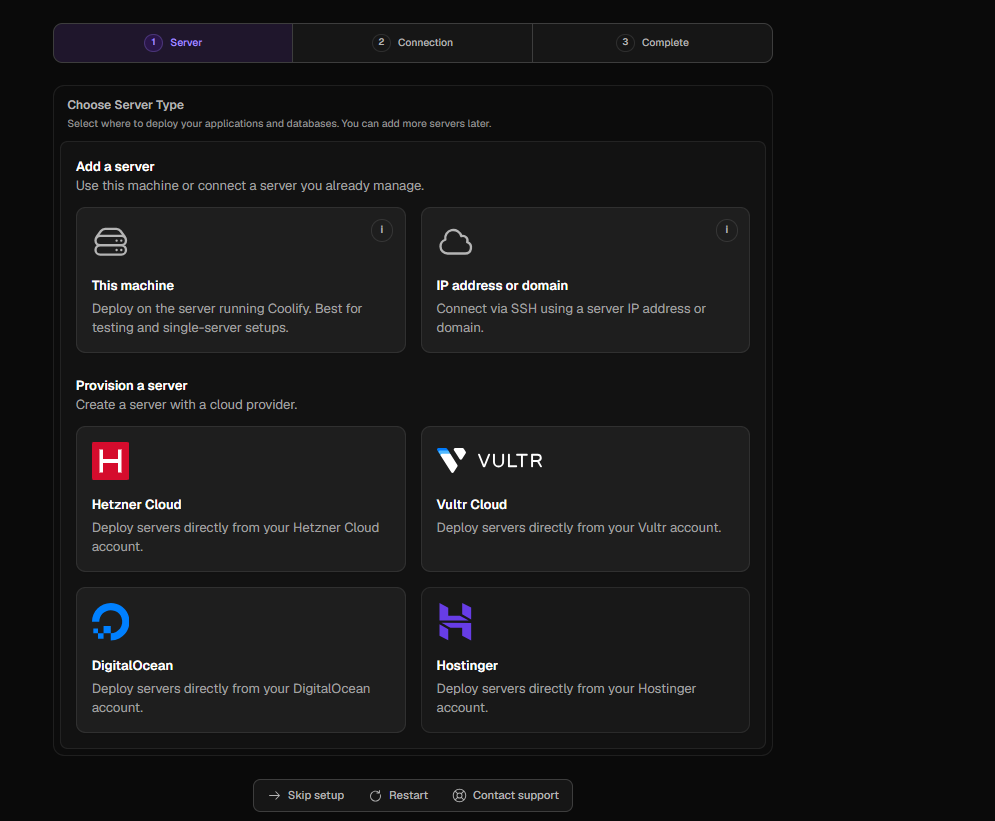
Temporarily allow TCP port 8000 from your public IP/32 in the public subnet’s Security List. Keep SSH working. Open http://YOUR_SERVER_IP:8000, create your admin account, and select This machine.
5. Give the dashboard HTTPS
Add a Cloudflare A record: coolify → YOUR_SERVER_IP, initially DNS only.
Allow public TCP ports 80 and 443 in Oracle’s Security List. In Coolify’s General settings, set the instance URL to https://coolify.yourdomain.com.
Once HTTPS works, remove the temporary public port-8000 rule. Ubuntu’s firewall must also permit the required traffic; Coolify’s firewall guide covers the requirements.
6. Deploy, then protect your work
Add a Git repository, configure the build/start commands and internal port, enter environment variables privately, and deploy. Connect a GitHub webhook for automatic deployments on push when using a repository URL or deploy key; the official Git App integration handles its own events. Check that dependencies support ARM64.
Before relying on it, save Coolify’s configuration/encryption key and database backup outside the VM. Back up application databases and uploads separately, and test recovery.
No app sleep timer does not mean guaranteed uptime. Coolify keeps ordinary application containers running, but Oracle’s idle-reclamation rules still apply.
For my hobby projects, that tradeoff is worthwhile. I get a deployment platform I control—and every part of setting it up taught me something I used to leave behind the Deploy button.